Skip to content
How to install your Gardena wall mounted hose reel in 7 steps

How to install your Gardena wall mounted hose reel in 7 steps

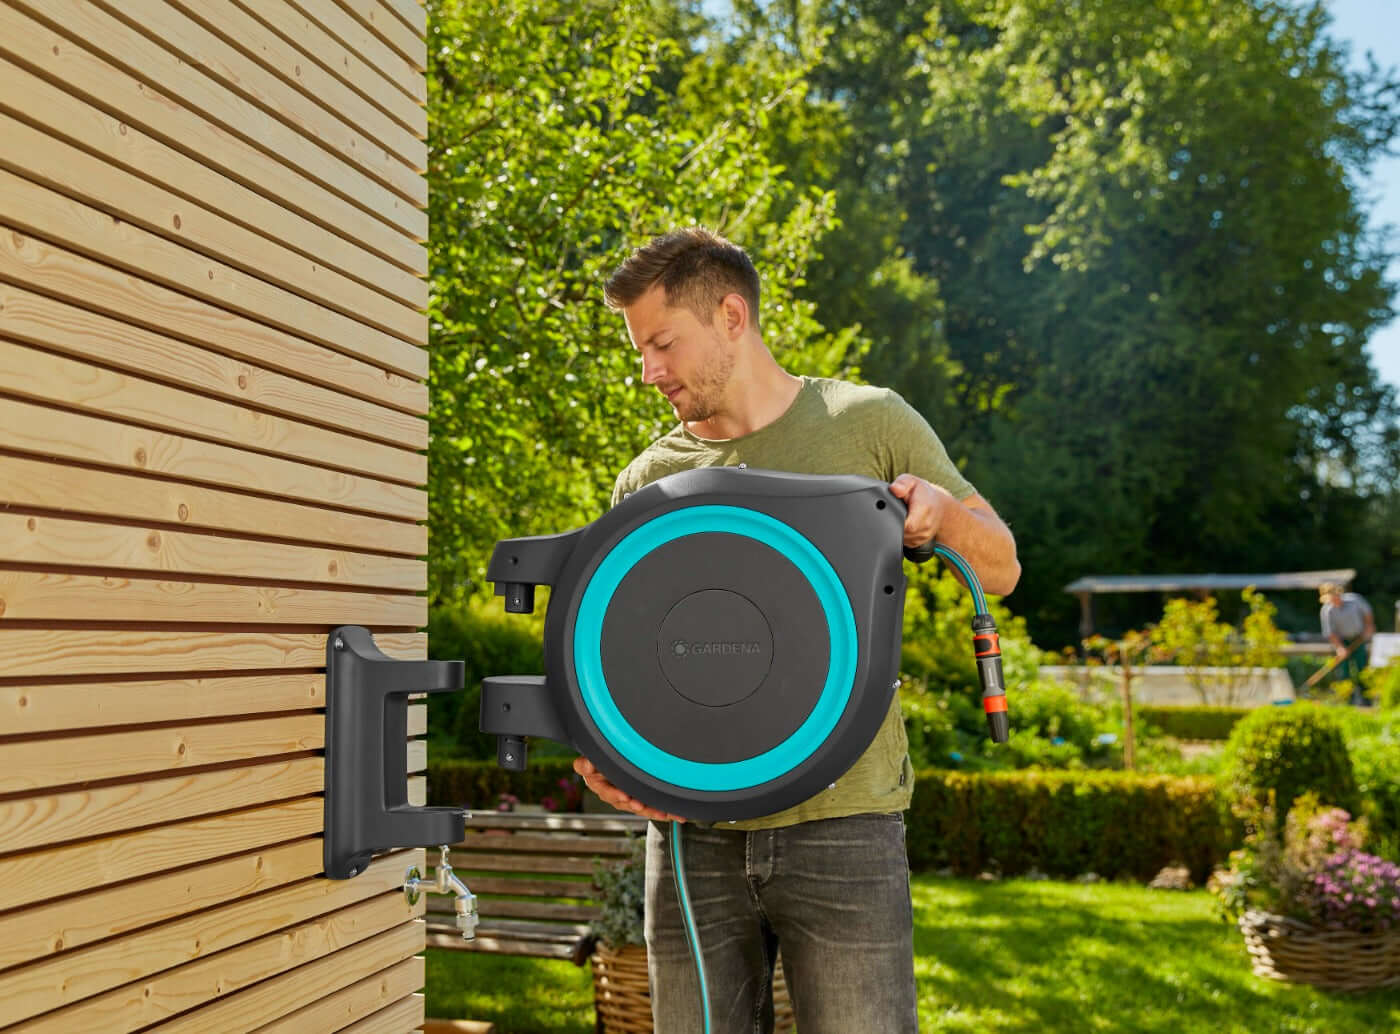
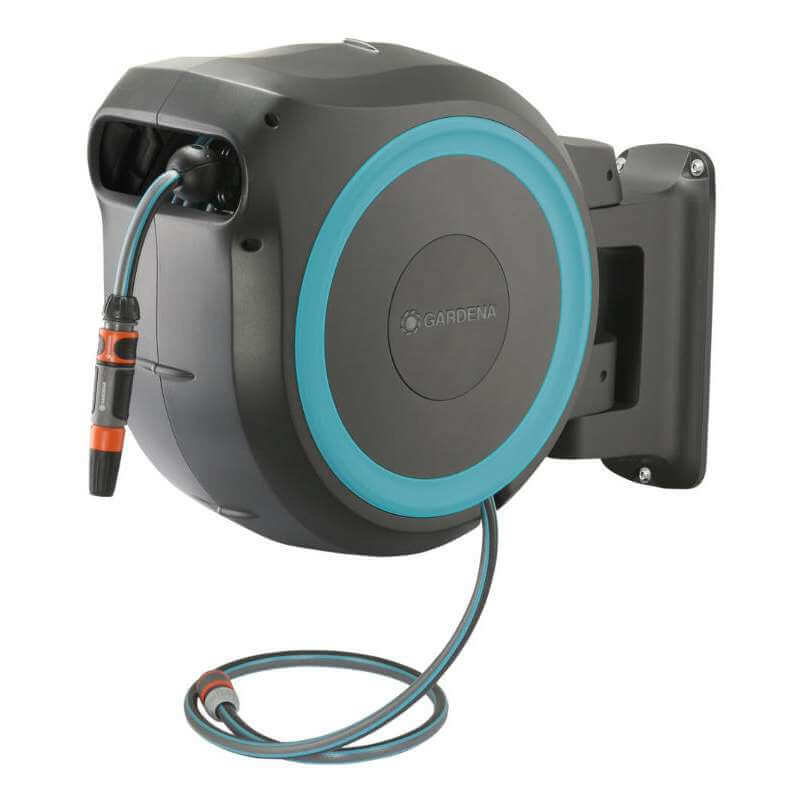
The Gardena wall mounted hose reels all come with the necessary fixtures and fittings so you can fit your hose reel to a brick wall or wooden structure. Make sure that the bracket is secured to a flat surface and your within 1.5m of the tap.

The hose reel can swivel 180° so ideally make sure you have 80cm of space either side of your mounting location.

Tools required

  • 10mm spanner
  • Drill
  • 8mm drill bit
  • pencil or pen
  • Small philips screwdriver
  1. First you need to remove the looking screw so you can remove the reel from the wall bracket.
  2. Then mark boreholes using the drilling template.
  3. Drill the 3 boreholes in the wall with an 8mm drill bit.
  4. Insert the wall plugs into the 3 holes
  5. Screw the wall bracket to the wall with the 3 screws provided. Make sure you place the washers between the screw and the wall bracket and use a 10mm spanner to tighten.
  6. You can now lift the hose reel onto the hose bracket. 
  7. Secure the hose with the locking screw.

Watch the installation video for more clarity


Previous article Garden tap flow rate
Next article How to extend a garden hose

Our Best Selling Collections

Home Page